.png?height=120&name=Untitled%20design%20(55).png)
This article explains how to work with screensavers on the youRhere Legacy CMS
I want to...
- Add a new Screensaver Group
- Add Images and Slides
- Add an Overlay to a Slide
- Assign a Screensaver to a Terminal
Support for the previous version of our CMS will be ending soon. Contact your Account Manager or our Customer Success team to learn more about upgrading your account.
Does your experience look different than the examples? Click here for the CMS 2.0 version of this article.
Adding a new Screensaver Group:
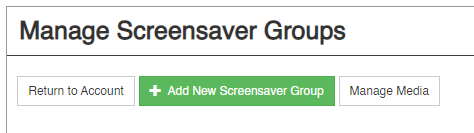
On the main navigation bar, click Manage Screensavers.

Click the Add New Screensaver Group button.
Fill out the form. Name your screensaver something unique that you'll remember for later.
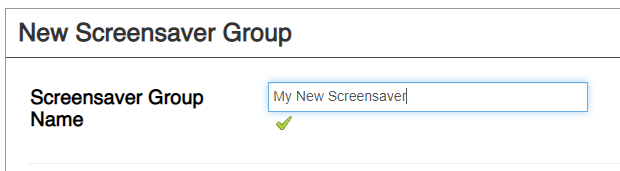
Set the height and width of the screen. We will want to match the size of the screen on which the screensaver will be displayed. If you don't have this information, please contact Support.

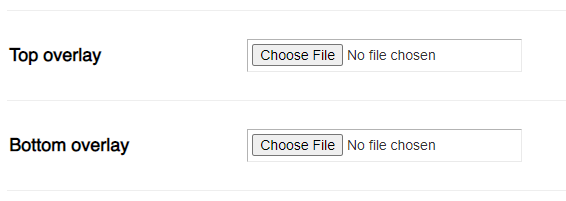
You can upload a custom overlay to display on either the top or bottom of the screensaver.
Check or uncheck to designate the screensaver as active or inactive. In order to use a screensaver, it must be checked as Active.

Click on Create to save your changes.

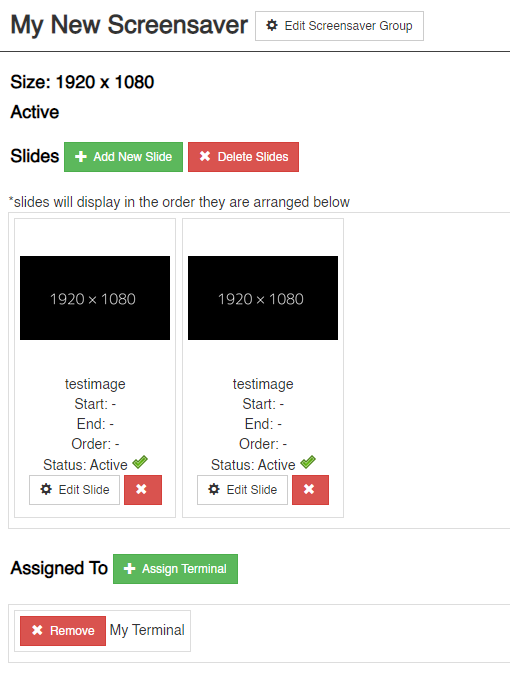
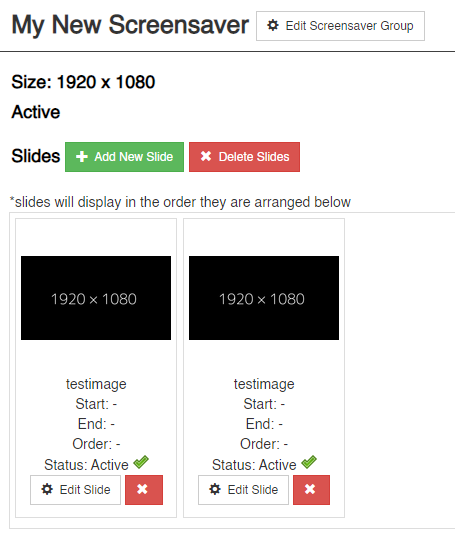
You will see your new screensaver group on the Manage Screensavers page. Next we need to set up the slides that will be displayed.
Adding Images and Slides:
On the main navigation bar, click Manage Screensavers.

Find the screensaver group you want to work with and click Add New Slide.
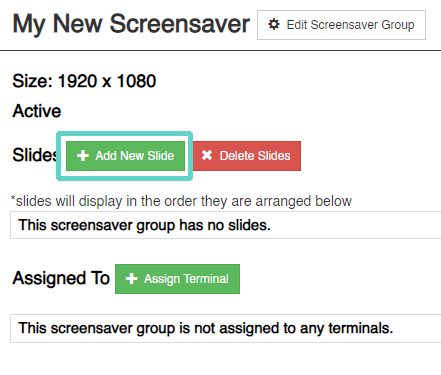
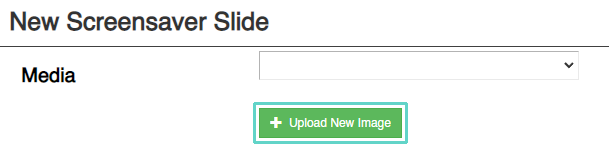
If you haven't already added slide images, click Upload New Image to add the images you want to use.
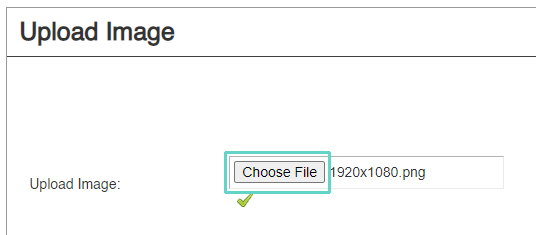
Click Choose File to select the image you want to use. The image must be a JPEG or PNG file.
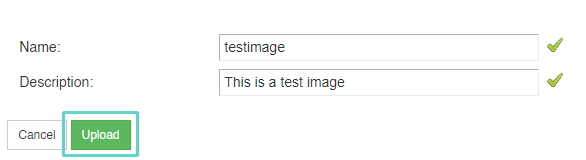
Give the image a name you'll remember, an optional description if you like, and click Upload to save your changes.
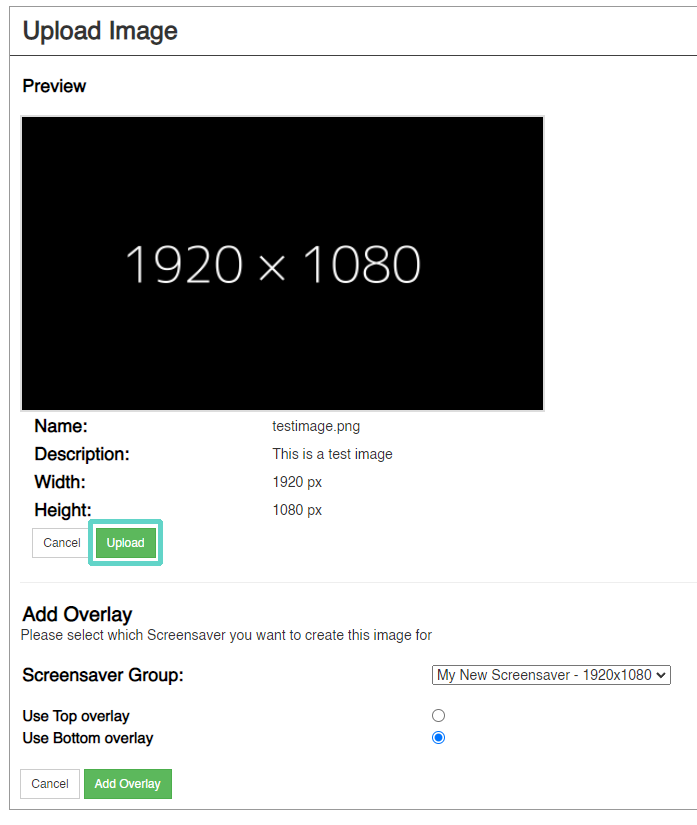
You will see a preview of your screensaver image and the image's dimensions. Here you can optionally add an overlay if you like by clicking Add Overlay. Here we are just going to use the image we uploaded, so we will click Upload to confirm.
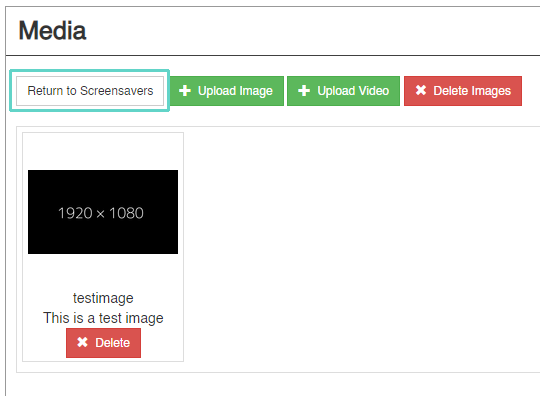
You can repeat for as many screensaver images as you'd like, then click the button to Return to Screensavers.
You will see your screensaver group on the Manage Screensavers page. Click Add New Slide.
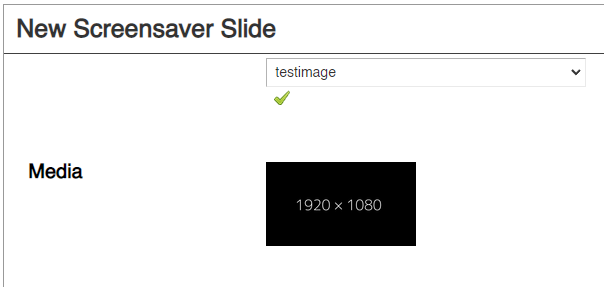
Select one of the images you just uploaded to become a slide.
Fill out the rest of the form:
Slide Duration allows you to choose for how long you want this slide to display.

You can choose a transition type and duration to display between slides.

If you'd like the slide to display for a set time period, you can choose the start and end dates you'd like. If these fields are blank, the slide will appear until manually changed.

You can optionally choose which order this slide will appear in the screensaver. If you don't change this field, slides will appear in the order that they're created.

Click Create to save your changes.
Repeat as many times as you like for your screensaver. Every screensaver group will need to have at least two slides.
Adding an Overlay to a Screensaver Image:
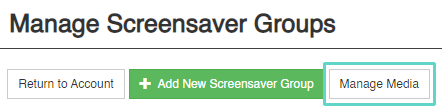
On the main navigation bar, click Manage Screensavers.

Click the button to Manage Media.
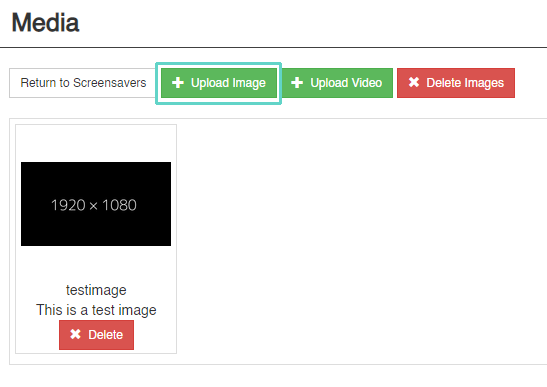
Click the button to Upload Image.
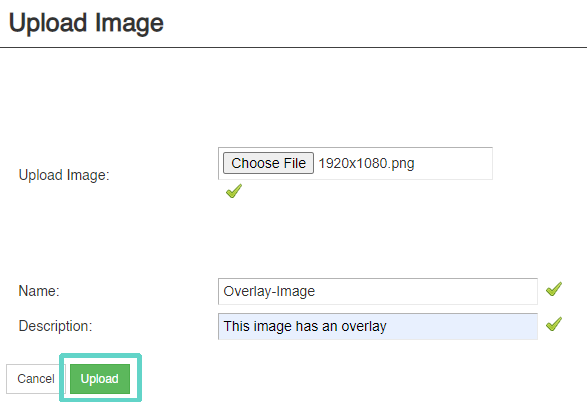
Follow the steps to upload and name your image, the click the Upload button to save your changes.
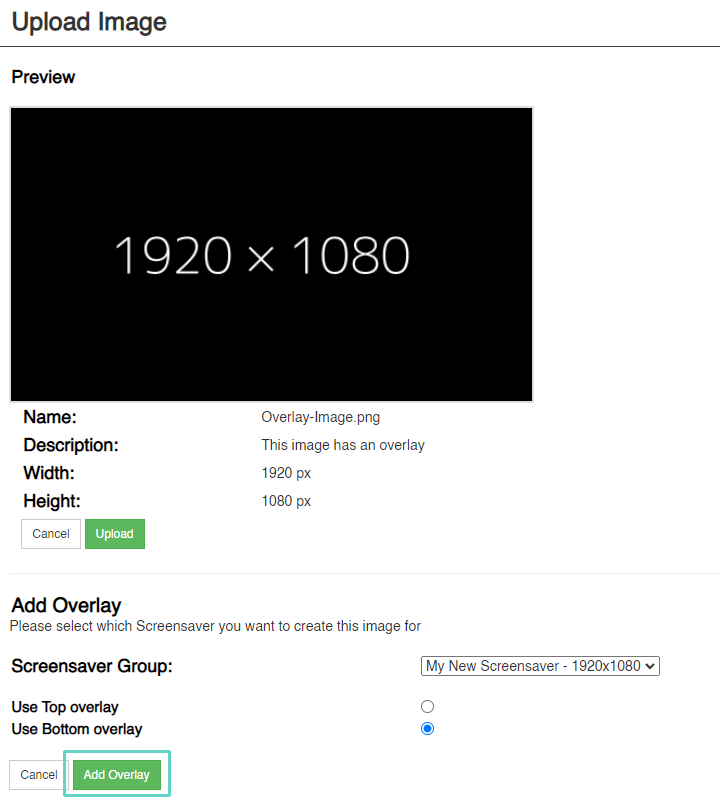
You can preview your uploaded image and choose an overlay. We're going to use the Bottom Overlay in this example. Select the screensaver group you want to add the finished image to and Click Add Overlay to proceed.
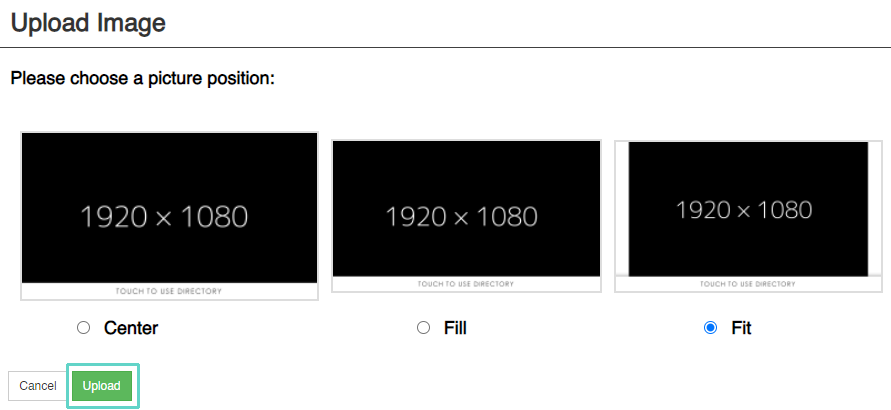
We can choose how we want the image and overlay to appear, which may include cropping or stretching the image to fill the space. Choose the option you prefer and click the Upload button to save your changes. Here we will just keep Fit as the selection.
Now our new overlay image will appear with the rest of our media!

Assigning a Screensaver Group to a Terminal:
Finally, we need to ensure that the screensaver is set to display on the terminal we want.
On the main navigation bar, click Manage Screensavers.

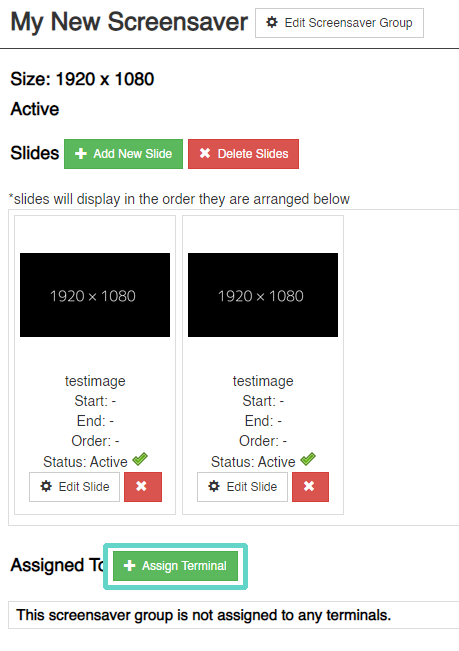
Find the screensaver group you want to assign and click the button to Assign Terminal.
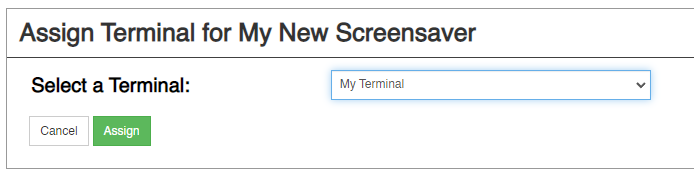
Find the terminal you want to assign your screensaver to, and click Assign. Keep in mind that each terminal can only have one screensaver group assigned to it.
Note: If you cannot find the terminal you want or have any other troubles assigning a screensaver group, please contact Support.
You will now see your screensaver group assigned to the terminal you selected.